You can add contacts to your vault without giving them collaborator access. This allows you to connect them to files, share documents via encrypted links, or send them a file upload request link. If you want to give them access, the system will prompt you to define permissions after the contact is created.
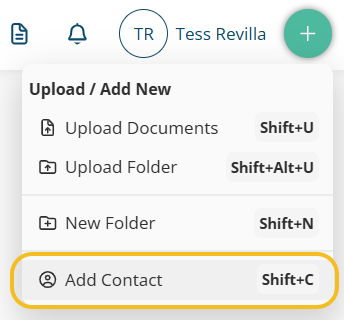
Add a contact manually
- The plus button is always located in the top-right corner.
- You can also right-click any white space in the center area to open the Plus menu Actions.
Step 2: Populate the fields
- The mandatory information is First Name, Last Name and Email.
- We strongly suggest adding the 'Contact Type'.
- Click the + next to 'Add More Details'.
- You can add an image to the contact by clicking on "Add Image".
Step 3: Click Create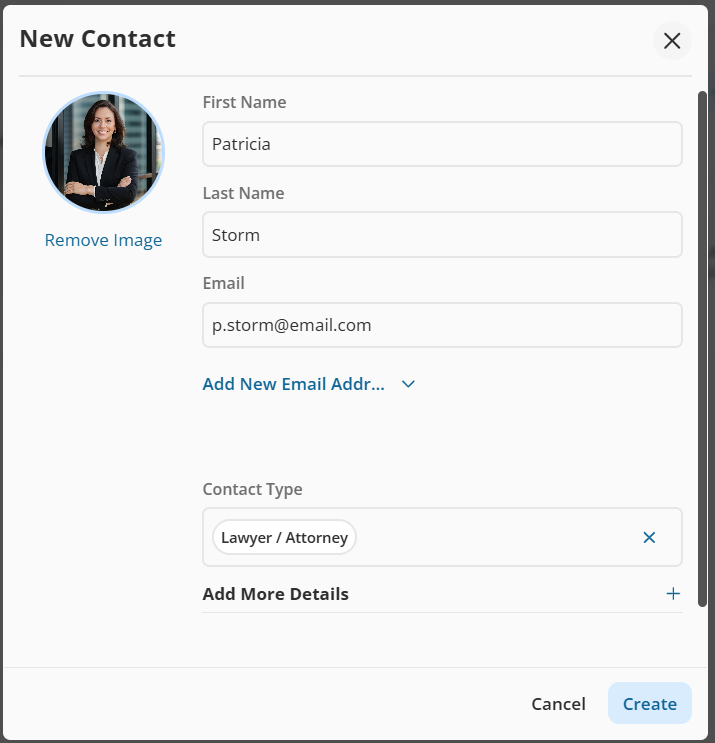
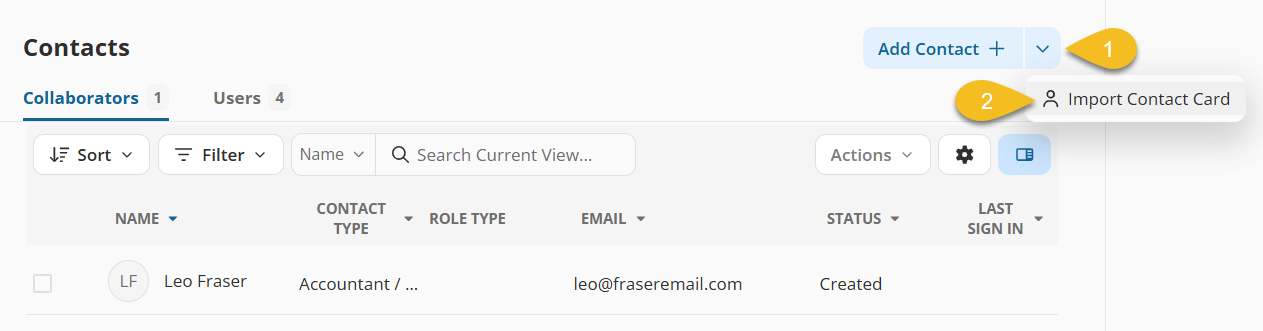
Import a Contact Card (VCard)
Step 1: Go to your Contact tab
- Located on your main menu
Step 2: Click on Add Contact + Dropdown
Step 3: Find the vCard file on your computer
Step 4: Click Open
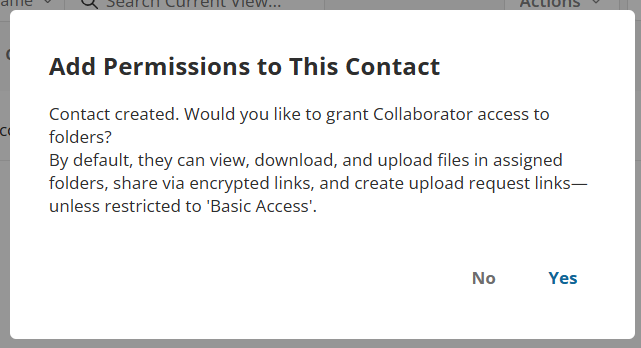
Set Permission
After creation, you can set permission to this contact to access an area or specific folders and entities inside the vault. Click Yes to continue and set the permission, or No to close the modal.